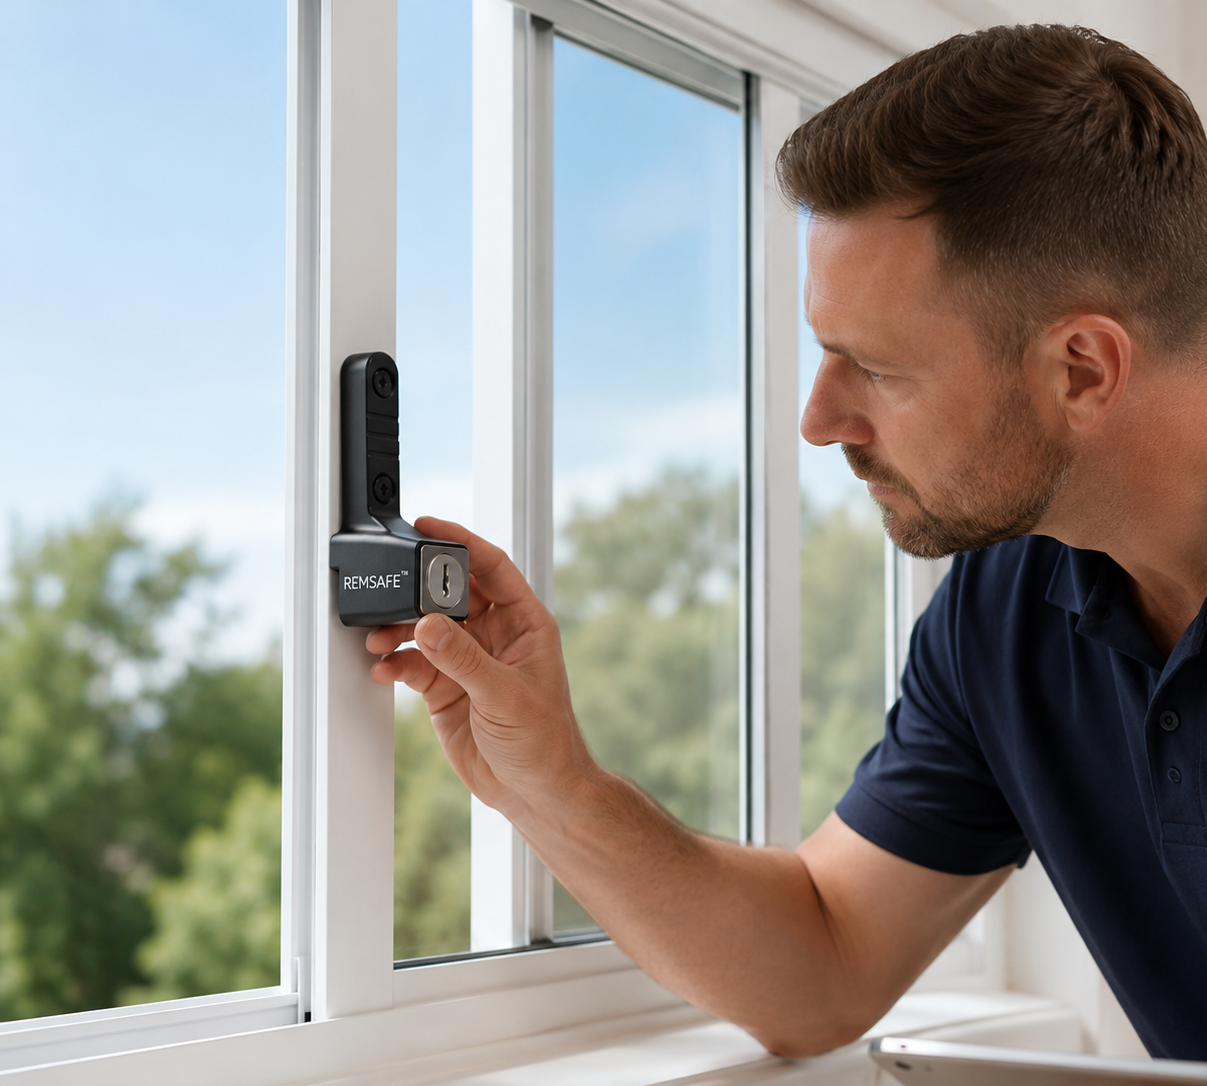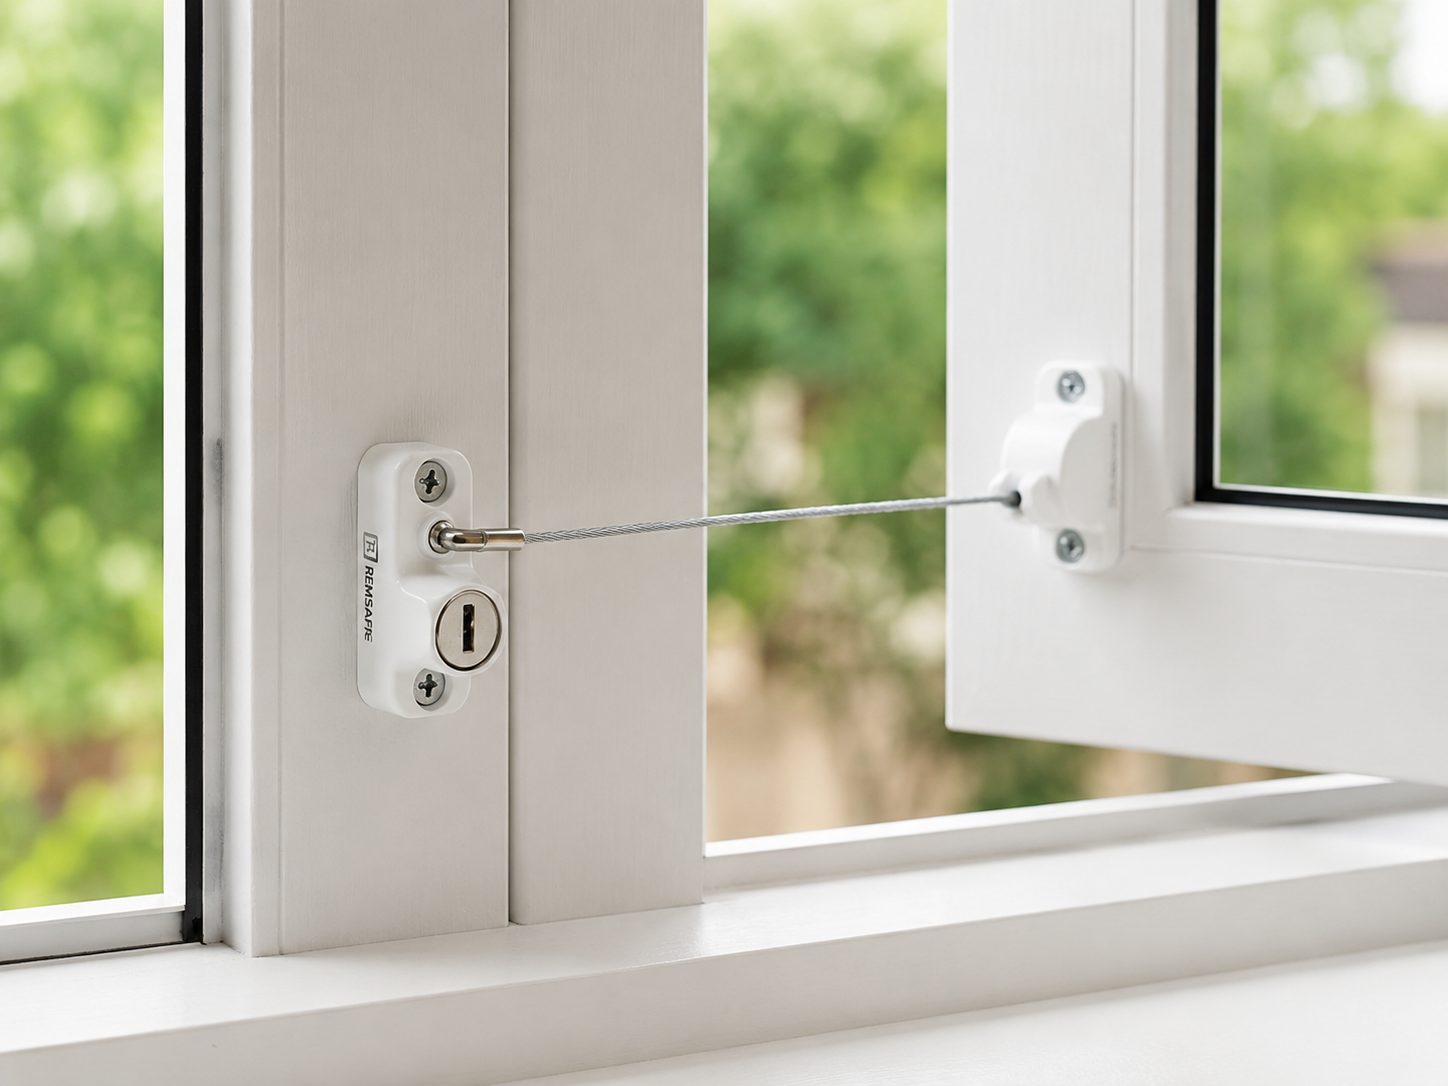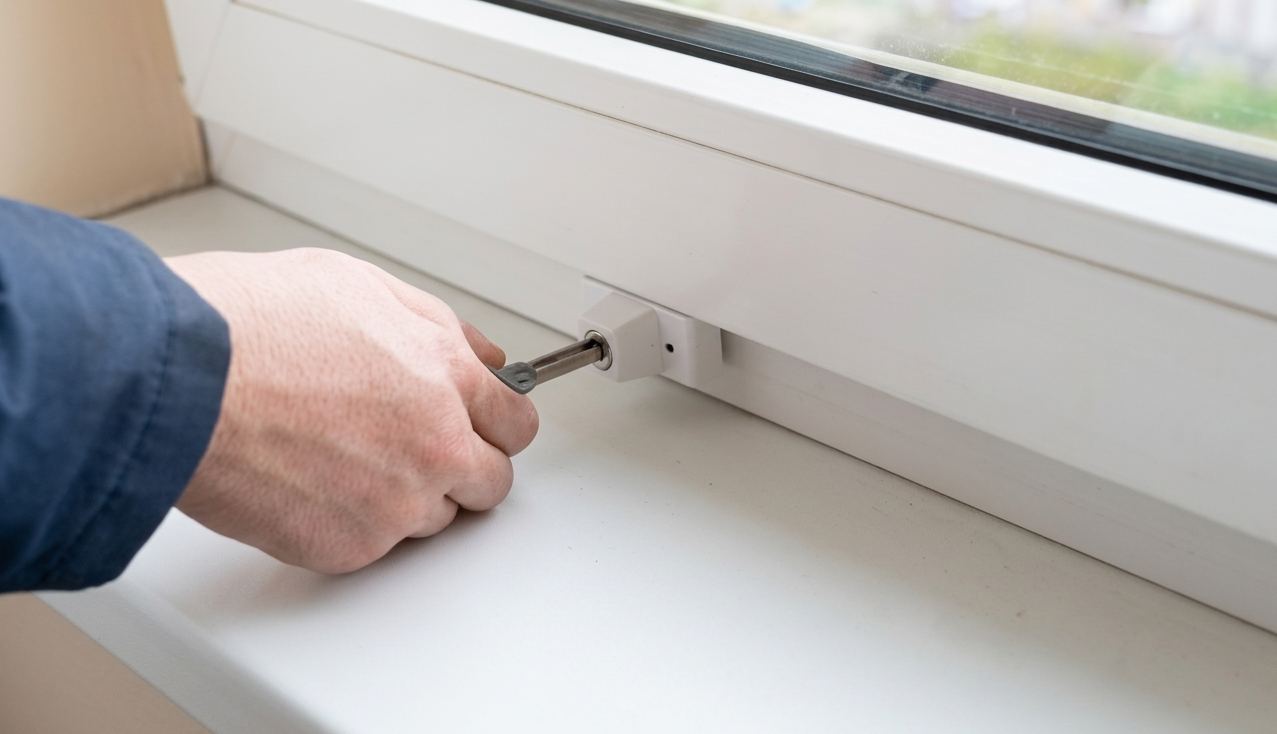
Window Safety Device Inspection Checklist For Strata Managers

Preparing properly for a window safety inspection saves time, reduces missed access and creates a better compliance record. Use this checklist before, during and after the inspection to get maximum coverage on the day and a defensible file afterwards. It is written for strata managers and building managers coordinating inspections in NSW, where owners corporations must maintain devices that restrict window openings to less than 125mm and resist 250 newtons of force.

One note before the lists: a checklist organises the work; it does not replace it. The testing itself — opening limits, force resistance, device condition — is the inspector’s job. Your job is everything around it, and that is what this page covers.

How do you use this checklist?

Work through the sections in order. The ‘before’ items decide how much of the building actually gets inspected — most access failures are baked in two weeks before inspection day. The ‘during’ items are about evidence.

The ‘after’ items are the difference between a report that sits in an inbox and a compliance record that would stand up to scrutiny. Copy the lists into your own template and reuse them for every building, every year.

What happens before the inspection?

  • Confirm building details with the inspector: address, number of lots, levels, and any secured or restricted areas.
  • Collect prior inspection reports and the defect history, and send them to the inspector in advance.
  • Confirm the inspection date, arrival time and expected duration in writing.
  • Notify residents at least two weeks ahead: purpose, date, access window, and a contact person for questions.
  • Send a reminder notice a few days before the inspection.
  • Arrange keys and access for common areas — hallways, stairwells, laundries, gyms and any locked rooms with windows.
  • Identify known problem windows (past defects, resident complaints, missing keys) and flag them for the inspector.
  • Designate an on-the-day contact who can open doors, answer questions and make small decisions.
  • Confirm whether same-day rectification is wanted if defects are found, so the inspector can plan for it.

What happens during the inspection?

  • Record which lots and common areas were accessed, as the inspection proceeds — not from memory afterwards.
  • Record every lot where access failed, and why, in its own list.
  • Ensure each in-scope window is physically tested — device engaged, opening measured, condition checked — not visually waved through.
  • Photograph every defect at the point of discovery.
  • Note devices that are present but non-operational: seized mechanisms, missing keys, disengaged restrictors.
  • Note substrate problems — rotted or damaged frames — separately from device problems, as they change the repair scope.
  • Capture locations precisely: lot number, room, and which window, so a tradesperson can find the defect without a guide.
  • Before the inspector leaves, review the headline results together: totals inspected, defects found, lots missed.

What happens after the inspection?

  • Review the report within a week — check it lists what was inspected, what passed, what failed, and what was inaccessible.
  • Send defects and the rectification quote to the committee for approval, with photographs attached.
  • Book follow-up access for every lot missed on the day; do not leave them for next year.
  • Track rectification to completion, with dates against every defect item.
  • Arrange reinspection of repaired items so closure is verified, not assumed.
  • File everything — report, quotes, approvals, completion evidence, reinspection results — in the building’s compliance folder.

Checklist for Resident Notices

The notice determines the access rate. Every resident notice should state: the inspection date and time window; why the inspection is happening (child window safety devices, a legal requirement for the building); that access to the unit is required and what happens if nobody is home; any keys or arrangements needed; and who to contact to reschedule. Short, specific and early beats long and legalistic every time.

Checklist for the Inspector

Whether you use Haven or anyone else, the inspector arriving on the day should have: the building contact’s name and number; previous reports and the known-defect list; a camera and a means of recording
per-window results; the list of confirmed-access and no-response lots; and clarity on whether same-day repairs are in scope. If your provider does not ask for these things before inspection day, that tells you something about the report you will get.

Checklist for the Final Report

A report is compliance evidence only if a stranger could reconstruct events from it. Check that yours answers every one of these questions: What was inspected, lot by lot and area by area? What passed?

What failed, and where exactly is each defect? Is every defect photographed? Which lots were not accessed?

What repairs are recommended, and what happens next? A certificate-style document that says ‘inspection completed’ without this detail protects nobody.

Checklist for Follow-Up

The follow-up phase is where most buildings quietly fail. Keep four items open until each is done: rectification approved and completed with dates recorded; missed-access lots inspected at a follow-up visit; repaired defects reinspected and verified; and next year’s inspection date booked before the current record ages out. When all four are closed, the compliance cycle for the year is genuinely complete.

Extra Items for Large Buildings (50+ Lots)

Scale changes the logistics more than the substance. For large buildings, add these to the lists above:

  • Stage the inspection across scheduled blocks (by floor or wing) with residents told their specific window, not a whole-day range.
  • Use the building manager or concierge as the standing access point, with a master schedule of confirmed, declined and no-response lots maintained as the day runs.
  • Agree a threshold in advance — if accessed lots fall below it, a second day is booked immediately rather than renegotiated later.
  • Ask for interim results at the end of each day on multi-day inspections, so defect quoting starts before the full report lands.
  • Track short-term rental lots separately; their access failure rate is higher and their turnover makes follow-up harder.

How does this fit the annual cycle?

This checklist describes one revolution of a wheel that should turn every year. The strongest predictor of a smooth inspection is whether last year’s cycle finished properly: a filed report, a closed defect register and a booked date make the next ‘before’ phase a formality. Buildings that treat each inspection as a standalone event redo the setup work every year and repeat the same access failures; buildings that run it as a cycle get faster and cheaper at it each time.

Which common mistakes does this checklist prevent?

The recurring failures we see are predictable: notices sent too late, so a quarter of the building is inaccessible; no photographs, so committee approval takes three rounds of questions; missed lots that vanish from the record instead of being followed up; repairs completed but never reinspected; and records scattered across email threads that leave with the manager who wrote them. Every item on this page exists because one of those failures keeps happening in real buildings.

What can a checklist not do?

The checklist is not a substitute for a professional inspection. It is a preparation tool. Whether a device actually restricts the opening to less than 125mm, and whether it would resist 250 newtons of force, are physical questions answered with testing by someone who knows the standard — not by a walk-through with a clipboard.

Use the checklist to make the professional inspection as complete and well-documented as possible.

Frequently Asked Questions

What should a strata manager prepare before a window safety inspection?

The strata roll and floor plan, the access plan (keys, agents, notices), and any renovation history — window replacements are the most likely places devices went missing.

What does the inspector actually test on each window?

Whether the window qualifies under the height criteria, whether a device is fitted, whether it holds the opening at 125mm or less, and whether it resists 250 newtons — photographed, per window.

What documents should exist after the inspection?

A photographic report, an updated unit-by-unit register for the scheme’s 7-year records, and a fixed per-window quote for anything that failed — same day, in Haven’s case.

Can the committee run the inspection itself with this checklist?

Legally yes — NSW licenses no inspectors — but the force test is technical and self-assessments rarely survive scrutiny after an incident. The checklist’s best use is holding professionals to the standard.

Requesting a Quote

When you are ready to book, include the building address, lot count and levels, any known access issues, and previous reports if they exist. Complete information means an accurate quote with no inspection-day surprises. Haven Compliance provides window safety inspections, photographic reporting, rectification support and annual programme scheduling for strata buildings across Sydney.

Related reading

Share this :

Facebook
Twitter
WhatsApp
Email